- Published on
Deep Agent Studio
Production-ready example of a LangGraph deep agent: a deep research assistant that plans via TODOs and a think tool, offloads context into a virtual file system, and delegates to scoped sub-agents.
- Authors
- Name
- Arthur Reimus
- @artreimus
🌊 Deep Agent Studio
Built with ❤️ by @artreimus from Ylang Labs
Production-ready example of a LangGraph deep agent: a deep research assistant that plans via TODOs and a think tool, offloads context into a virtual file system, and delegates to scoped sub-agents. The backend exposes these capabilities through a LangGraph server; the frontend turns them into a polished assistant-ui experience.
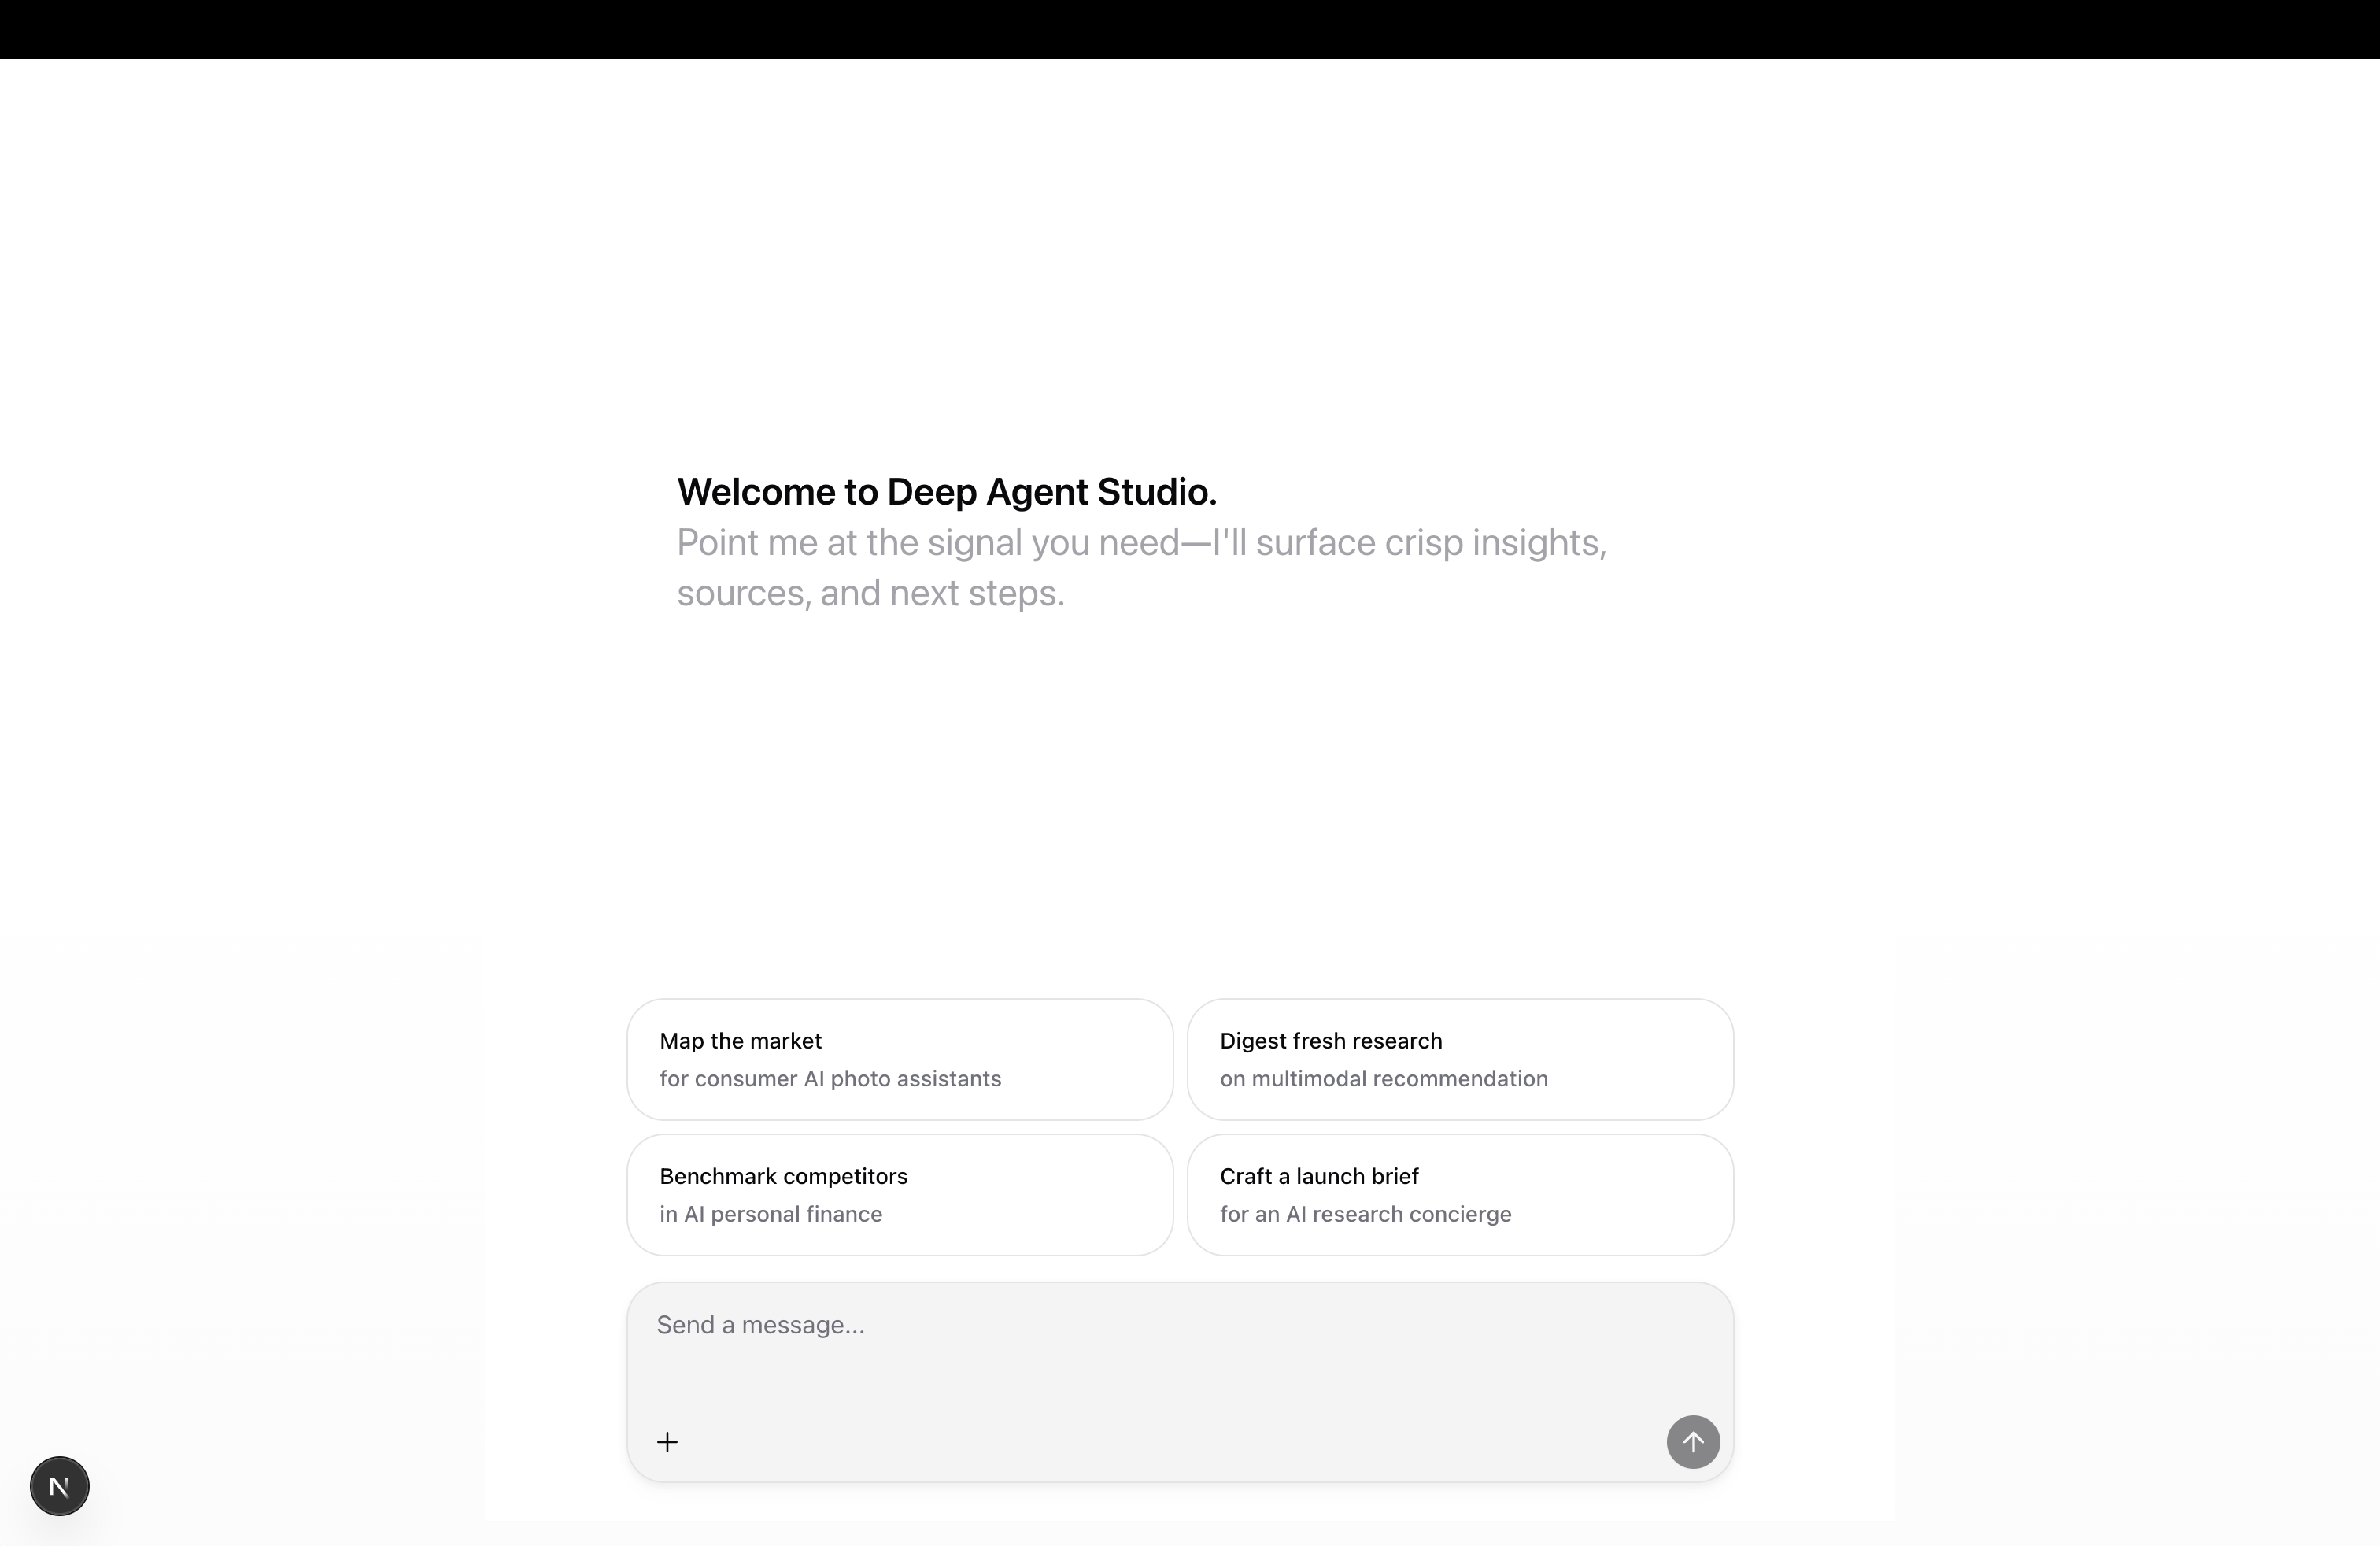
📸 App
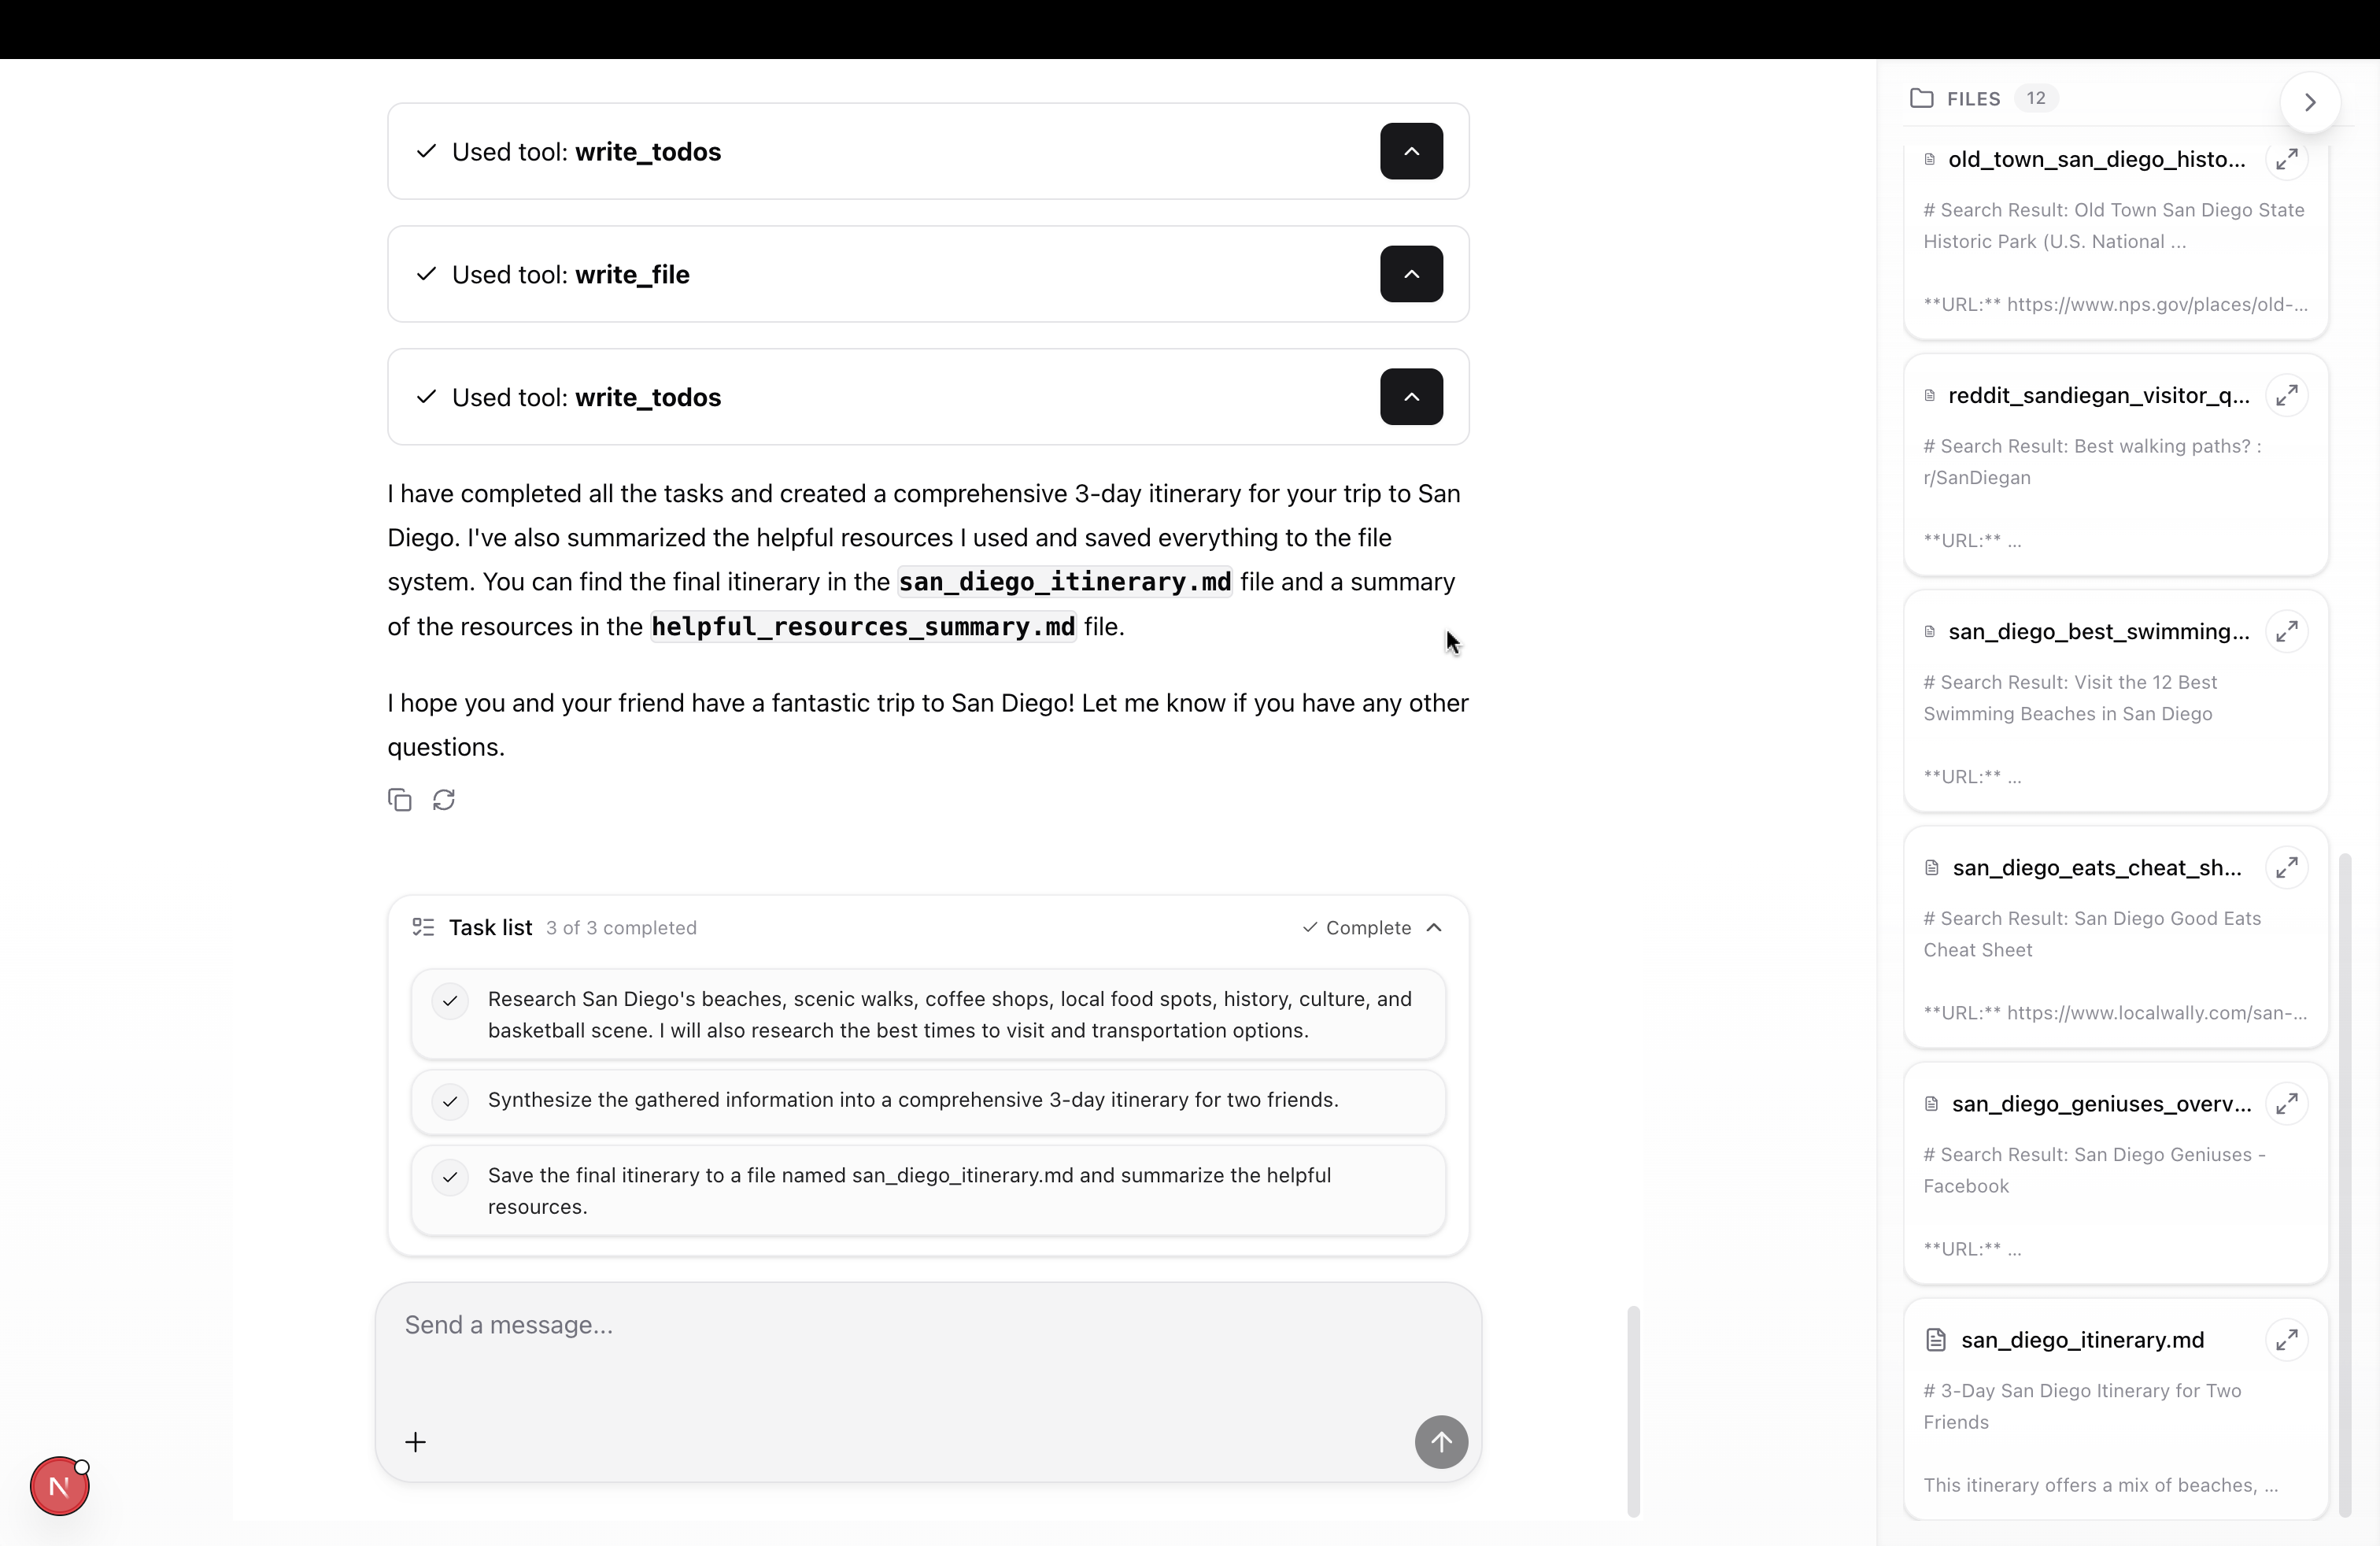
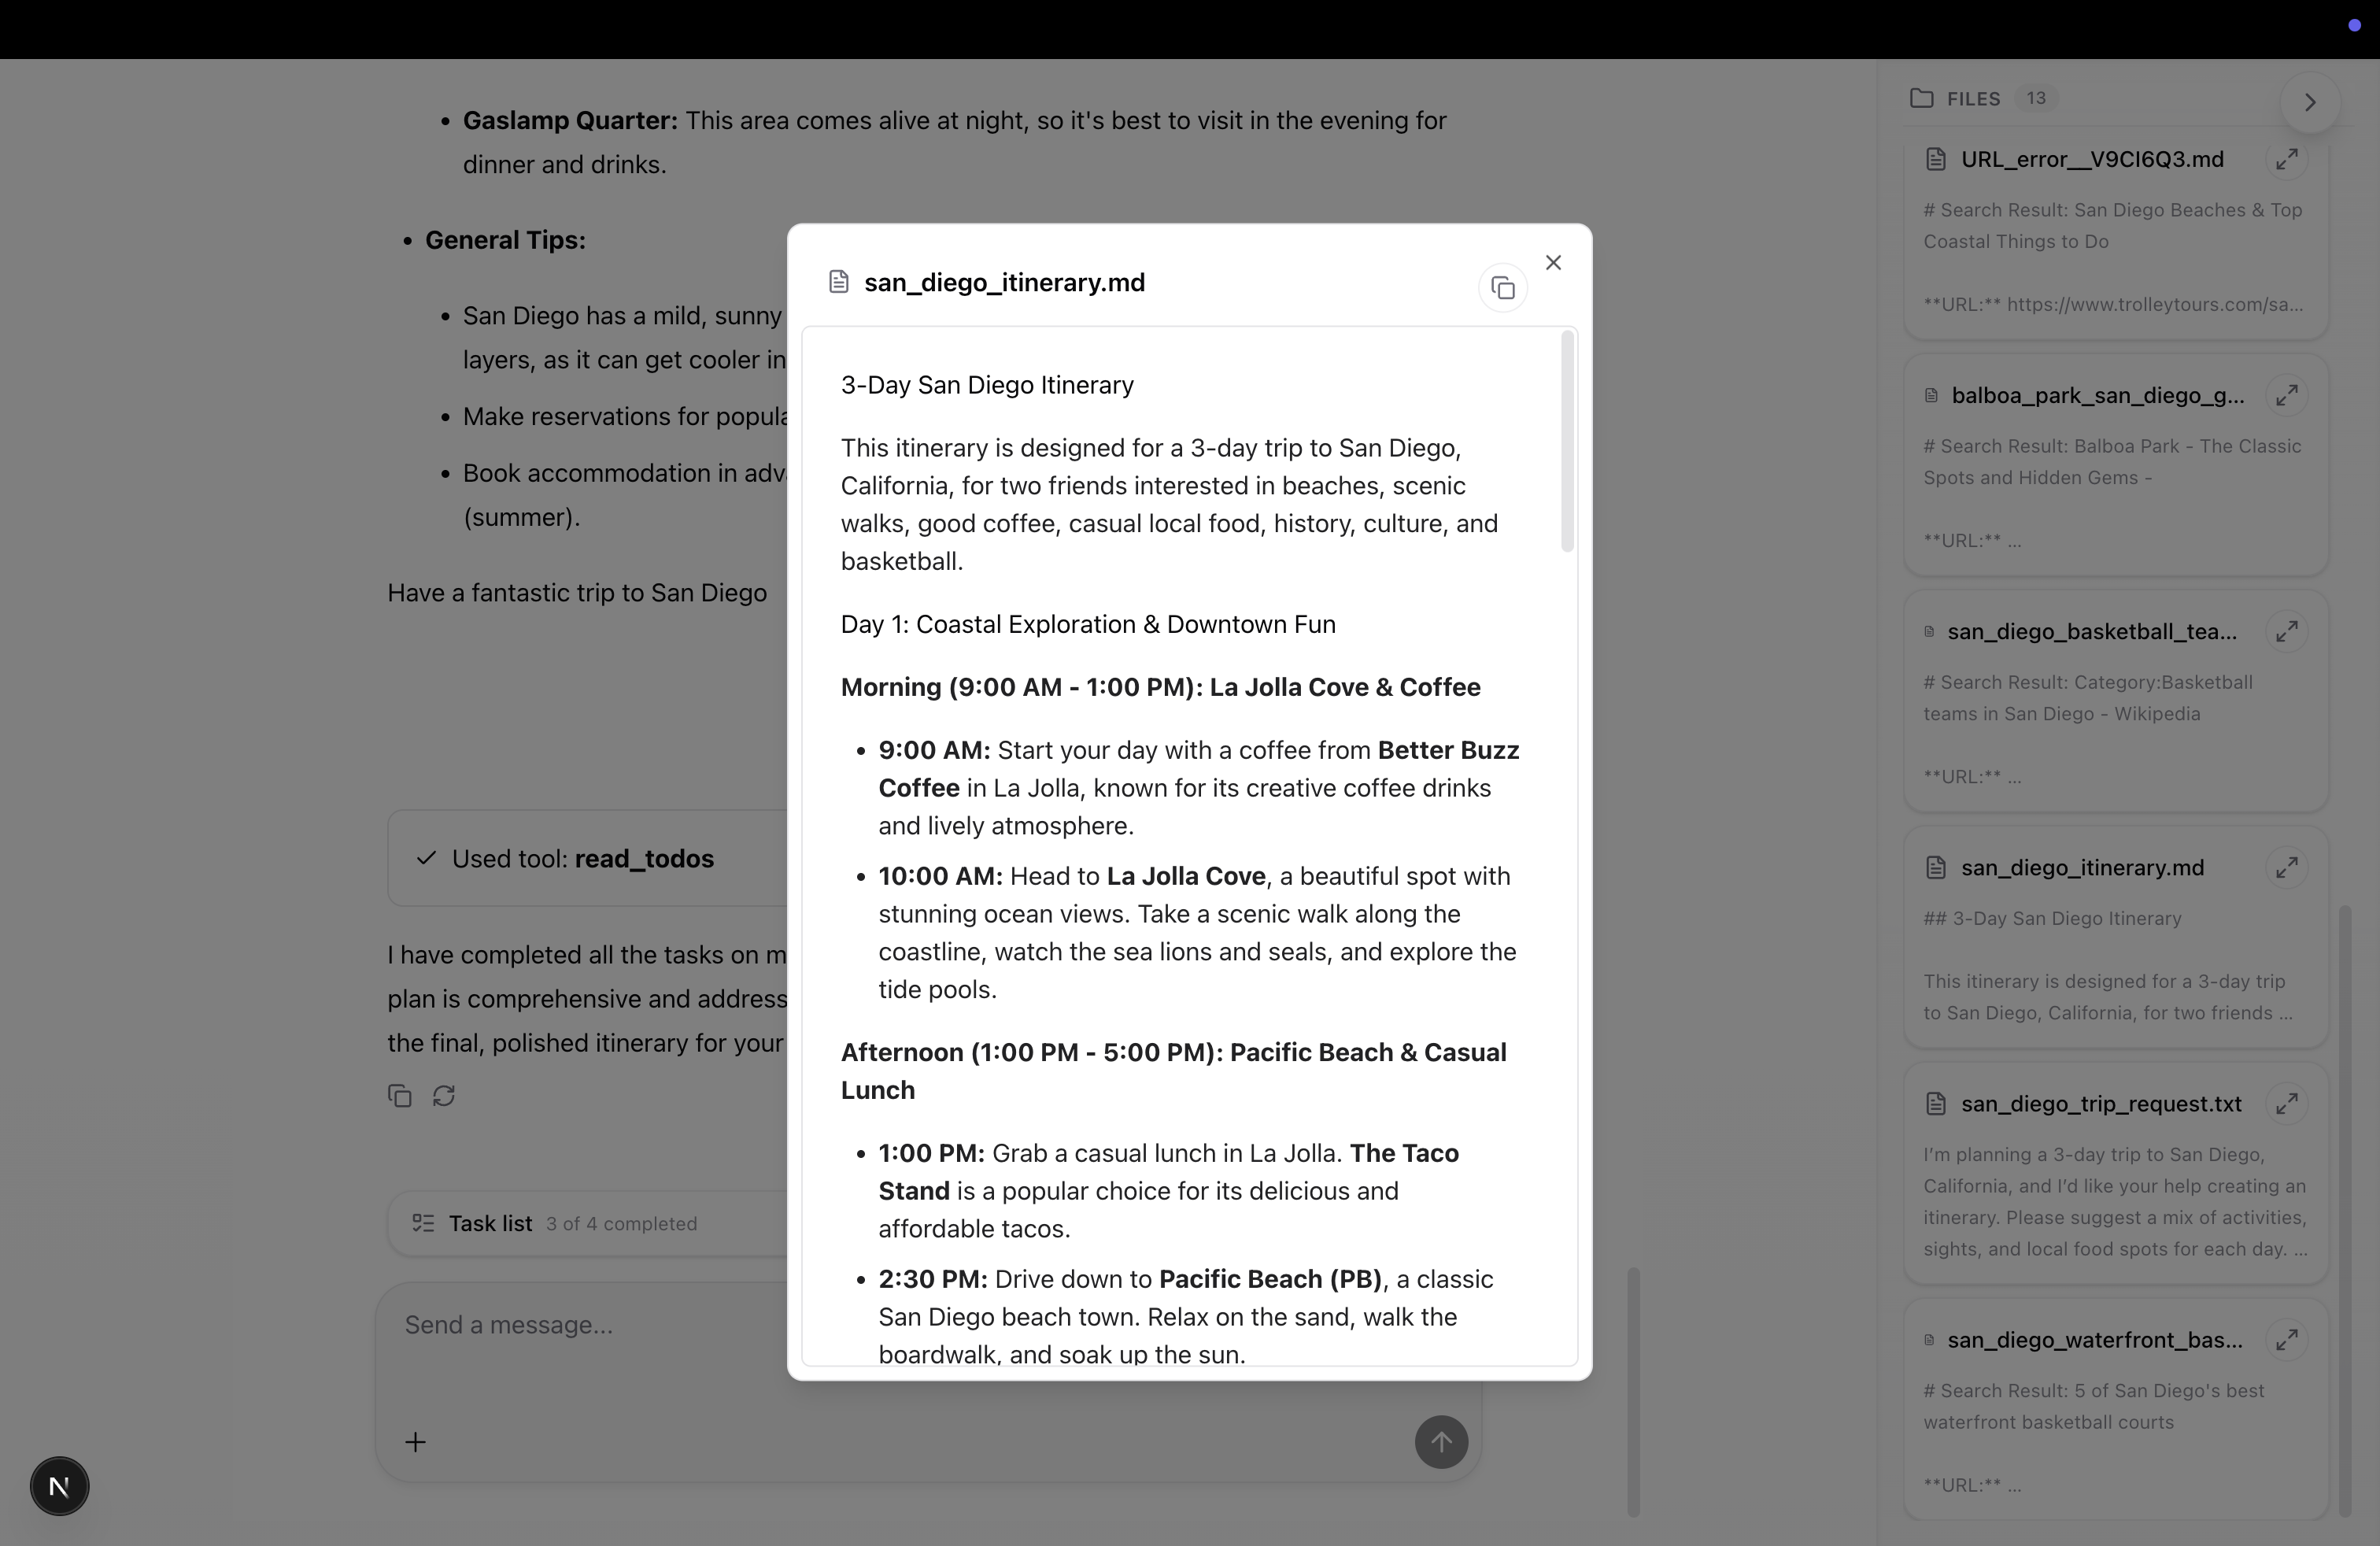
Deep Agent Primer

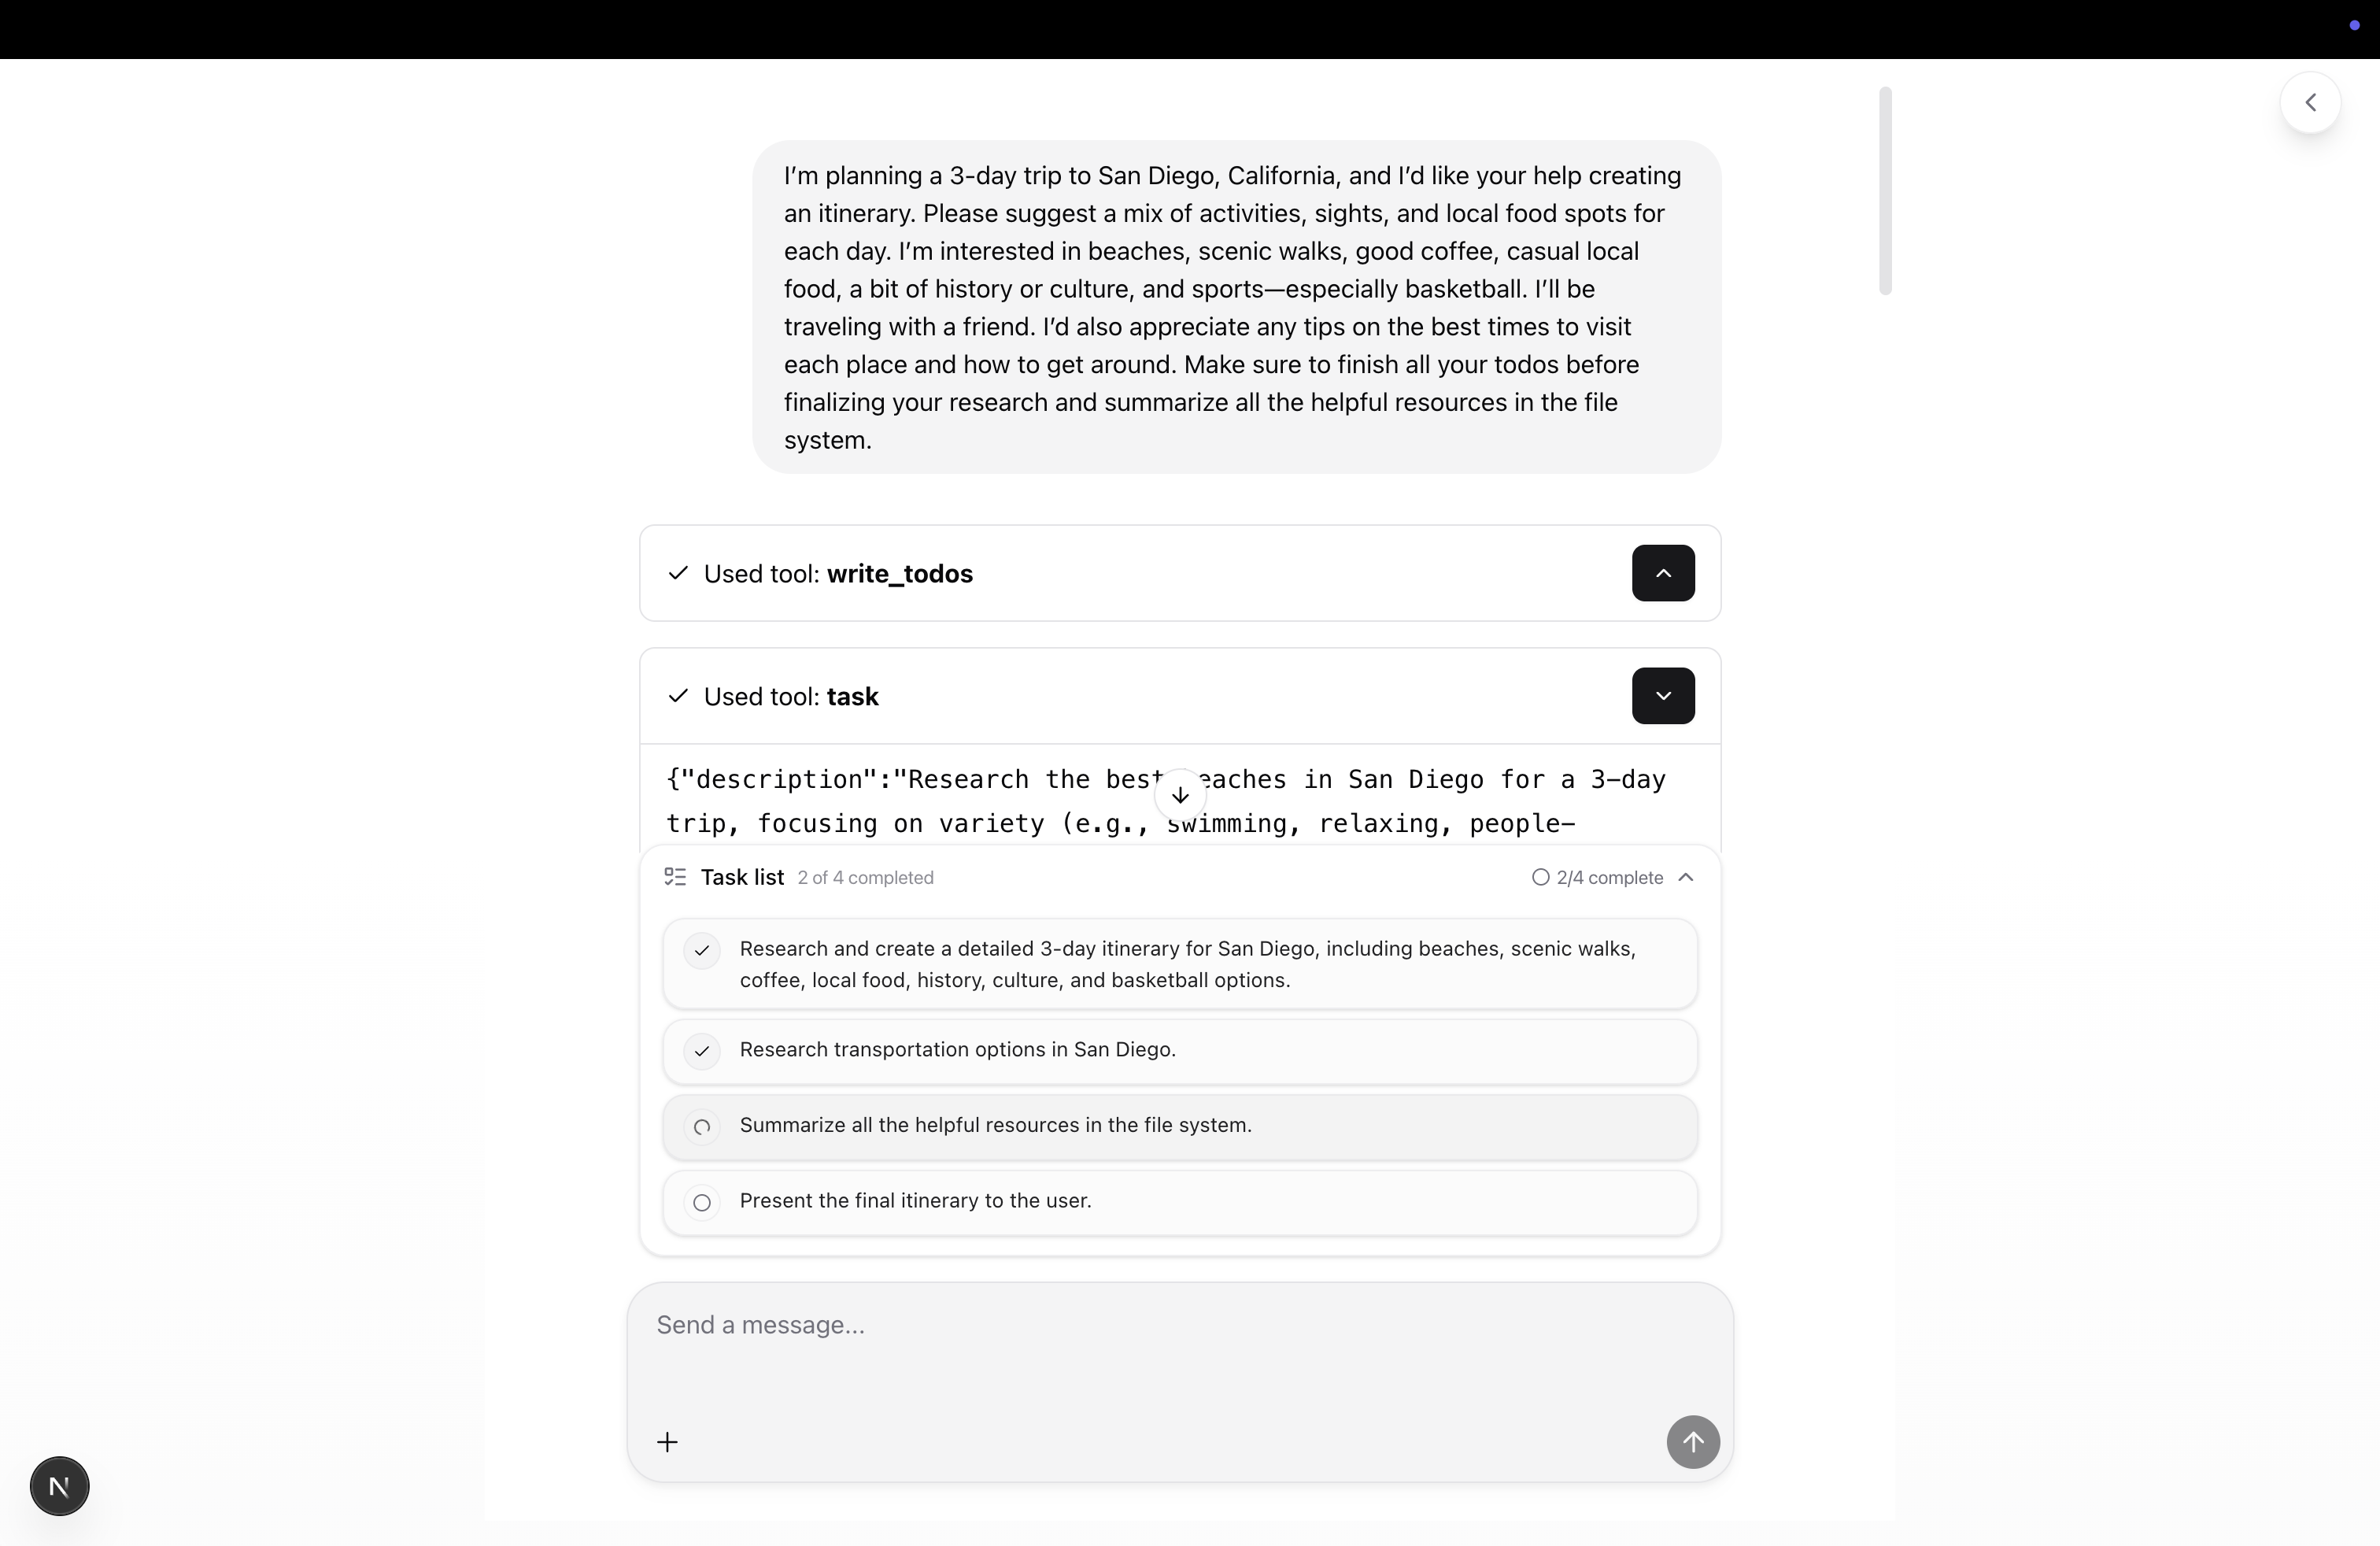
Deep agents extend the classic ReAct loop with extra structure so they can tackle long-horizon tasks:
- Structured planning: The agent keeps a typed TODO list and uses a dedicated
thinktool for inline planning and reflection. - Context offloading: A virtual file system in graph state stores notes, drafts, and artifacts without ballooning token usage.
- Delegated research: A specialized sub-agent handles focused web research using Tavily and the same
thinktool while respecting concurrency limits. - Stateful UX: The frontend subscribes to LangGraph updates to mirror todos and files in real time, so humans can co-pilot the workflow.
Architecture
backend/— LangGraph server hosting the deep researcher graph, reusable ReAct template, task delegation toolchain, and static assets for Studio.frontend/— Next.js 15 assistant-ui client that restores threads, shows TODO progress, previews generated files, and proxies API calls to the backend.
Quick Start (Local)
Backend (LangGraph server)
cd backendcp .env.example .envand provide provider keys (OPENAI_API_KEY,ANTHROPIC_API_KEY,TAVILY_API_KEY, etc.)- Install dependencies:
uv sync - Run checks:
make testandmake lint - Start the server:
make run-dev→ LangGraph Studio, API, and docs athttp://127.0.0.1:2024
Frontend (Assistant UI)
cd frontendcp .env.example .env.localand set:LANGGRAPH_API_URL=http://127.0.0.1:2024NEXT_PUBLIC_LANGGRAPH_ASSISTANT_ID="Deep Researcher"LANGCHAIN_API_KEY=...when routing through the Next.js proxy- Optional:
NEXT_PUBLIC_LANGGRAPH_API_URL=...for direct browser calls (requires CORS and API key handling)
- Install dependencies:
pnpm install(npm or yarn also work) - Launch the UI:
pnpm dev→ openhttp://localhost:3000
Ask a research question to watch the agent plan tasks, delegate subtasks, and surface artifacts in the sidebar.
Environment Variables
Backend .env
- Model providers:
OPENAI_API_KEY,ANTHROPIC_API_KEY,GOOGLE_API_KEY,OPENROUTER_API_KEY,GROQ_API_KEY - Search:
TAVILY_API_KEY(default research tool) plus any additional provider keys you add - LangSmith and tracing:
LANGSMITH_API_KEY,LANGSMITH_PROJECT,LANGSMITH_TRACING
Frontend .env.local
LANGGRAPH_API_URL— Base URL for the LangGraph server (proxied through Next.js)LANGCHAIN_API_KEY— Injected asx-api-keywhen the proxy forwards requestsNEXT_PUBLIC_LANGGRAPH_ASSISTANT_ID— Defaults to"Deep Researcher"frombackend/langgraph.jsonNEXT_PUBLIC_LANGGRAPH_API_URL— Optional direct browser target if you manage CORS and secret handling yourself
Development Workflow
- Backend:
make test,make lint,make format,make test TEST_FILE=tests/unit_tests/test_feature.py - Frontend:
pnpm dev,pnpm lint,pnpm build - Update supporting docs in
docs/orAGENTS.mdwhen evolving processes or tooling
Deployment
- Backend: Deploy via LangGraph Cloud/Platform for durability or self-host behind your own gateway. Enforce
x-api-keyheaders if the API is public. - Frontend: Deploy to any Node-compatible host (Vercel, Netlify, etc.) and point environment variables at the hosted LangGraph server. The built-in
/apiproxy keeps credentials server-side.
License
This project is licensed under the MIT License. See the LICENSE file for details.
⭐ If you find this project useful, please give it a star! ⭐
Built with ❤️ by @artreimus from Ylang Labs